What's New? |
Helpful tips and advice for home maintenance from your roof to your porch.
|
4/28/2016
Laying Shingles on a Mansard Roof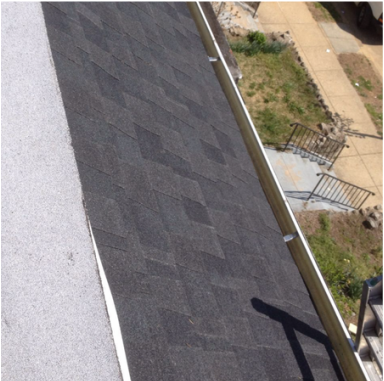 Shingles on a mansard roof by Boyd Construction Co Inc Laying shingles on a mansard roof can be a little difficult because of its shape and structure. Typically, the mansard roof has several sides, usually 4 and each side has its own slopes. Because of this unique design, you are going to want to lay shingles with extra care. Here are a few tools that you are going to need, along with some steps that can help you through this process without too much trouble.
Step 1 - Lay Out The Materials You may want to begin by planning and laying out the shingles so that you know what kind of direction you are going to take with this project. While it may seem like a hassle to go through all of the motions beforehand, you will thank yourself later when you don't have to re-shingle parts of the roof. Make sure to measure each surface that needs to be shingled as well as the size of the shingles that you want to use so that you know how much of the material you need to order. Step 2 - Prepare the Roof Now that you have gotten all of your materials, you will want to prepare the roof and make sure that it is sturdy enough to put new shingles on. If you find out that any of the sections are rotting or wet and beginning to mold, the best thing to do is just replace it right there. It's better to take a little bit of extra time now than to have to rip it up in a few months because of a mold problem. Lay and nail down the felt and waterproof membrane so that you can protect the house. Step 3 - Lay Shingles You will want to begin on one end, typically the lower left hand and work your way around and then up. It is important for this type of roof to take your time when laying the shingles so that each will fit and the different ledges will look great next to each other. You want the whole look to flow and not look as though a different roofer put each one together. Begin with cutting the tabs from the starter row of shingles and placing them along the edges. When you begin the next row, you can line it up with the starter row and then move up from there. You want them to overlap a little but also to be put on straight and secure. For the first shingle in each row, you will want to cut off about 6 inches as you go. Start with 6 rows going up and then across to use as a guide. Continue to follow these instructions, nailing each shingle in with about 4 to 6 nails each. Once you get to the top, you can go to the next side of the roof and work your way up to the top again. Since laying shingles on a mansard roof can be very difficult for an inexperienced homeowner, it is best to contact a licensed roofer like Boyd Construction Co Inc, to provide a free estimate. ANYONE WHO lives in an older row-house had to shudder at the collapse of a wall recently in Baltimore that left seven people injured.
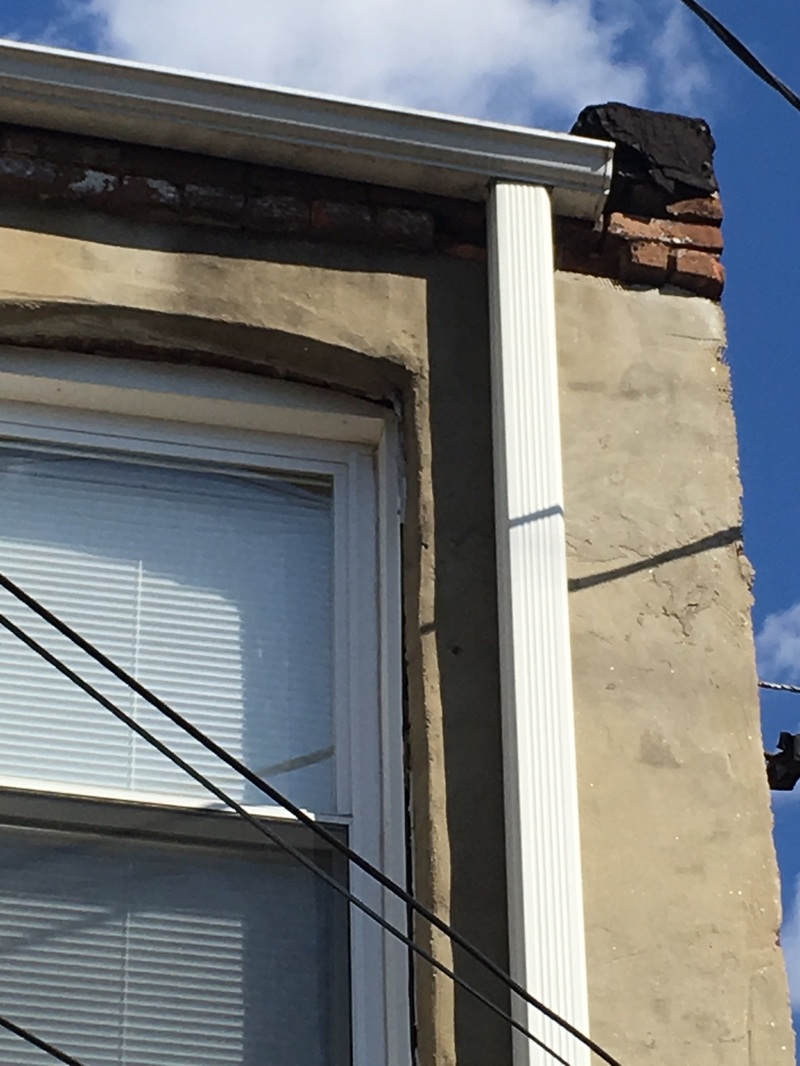
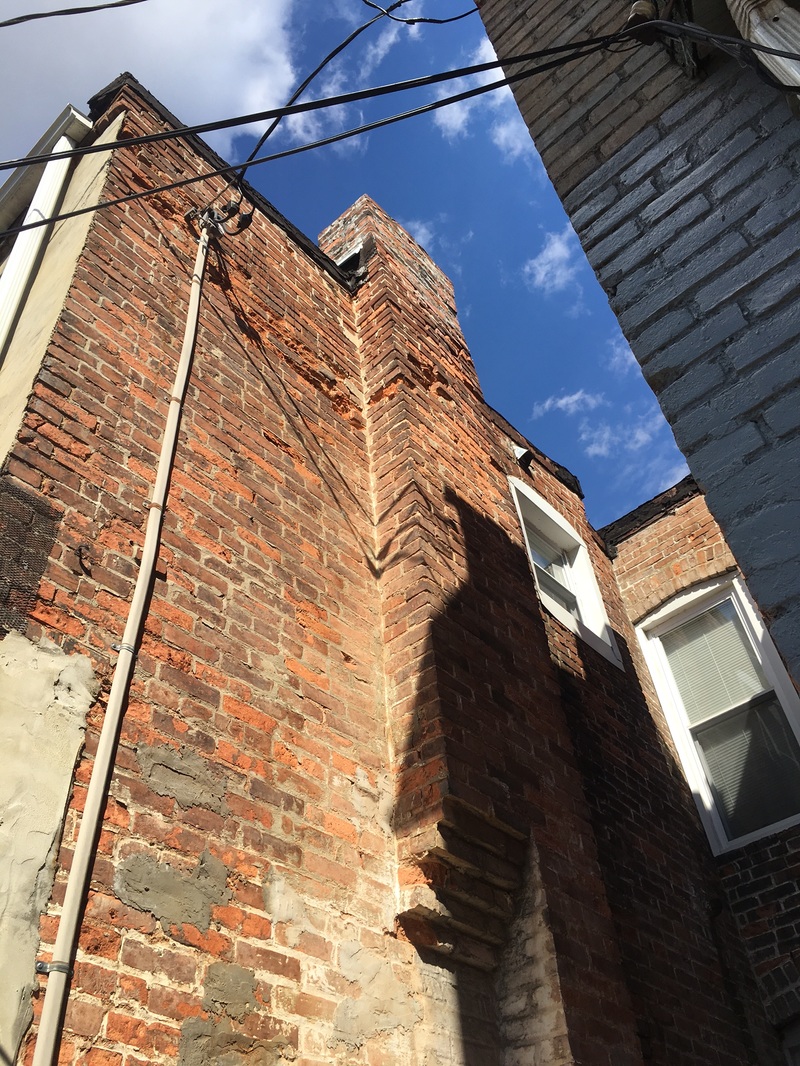
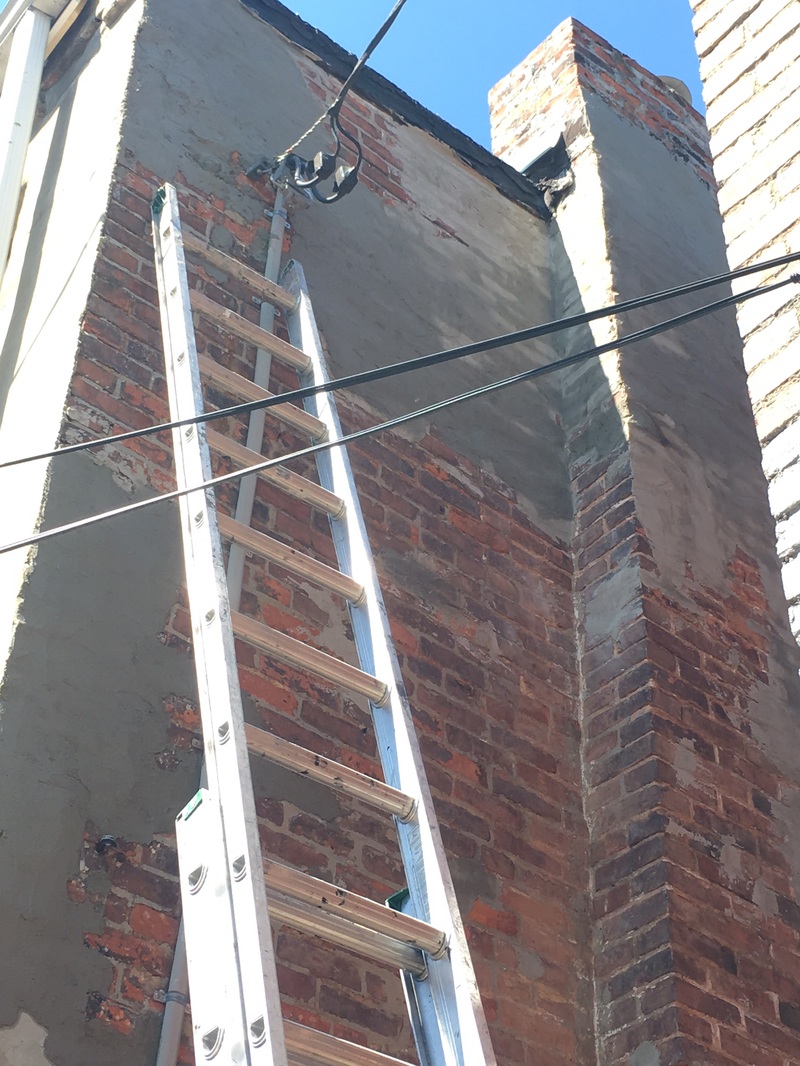
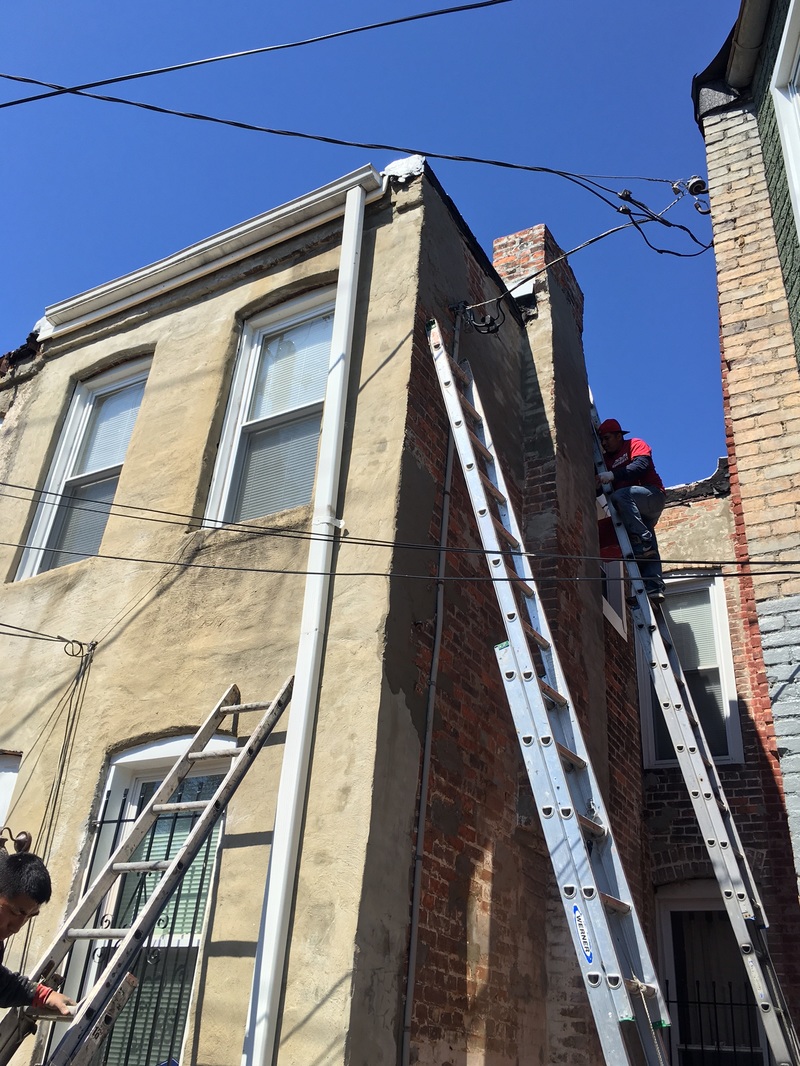
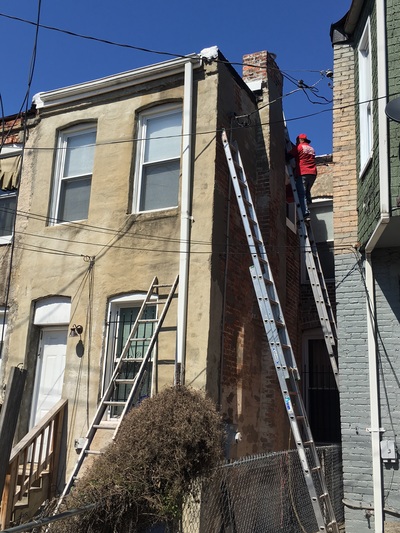
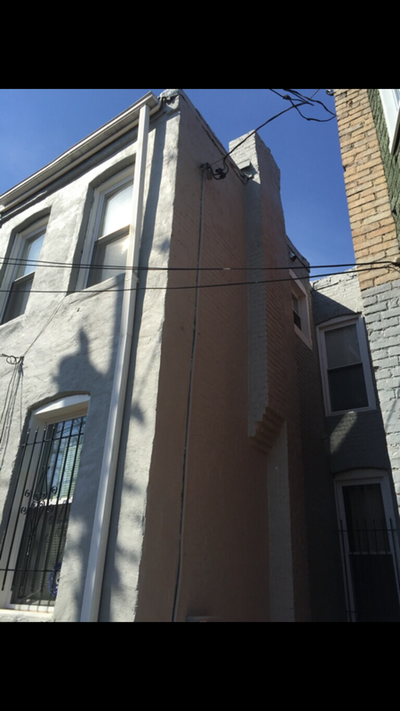
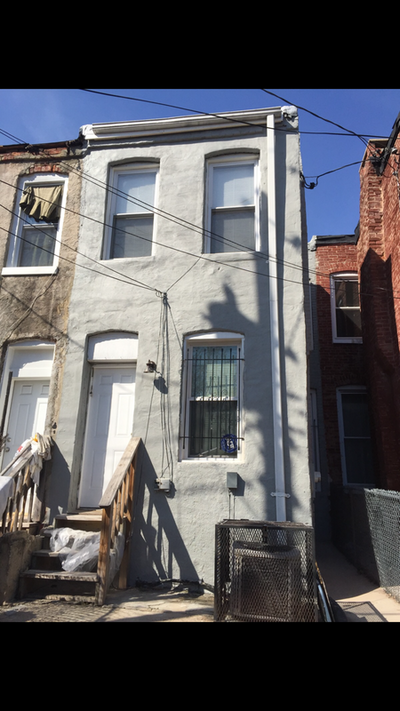
Alas, such a collapse is not a freak accident -- the wonder is it doesn't happen more often. The problem is that row-houses are connected; from the outside walls of the end units all the way through, the row is one structure. Each unit gets its stability from being part of the row, from being one layer in a rigid horizontal sandwich. Some row-houses, especially the older ones, are separated by a party wall only a single brick thick -- that's just 4 inches. Only on the ends of the end units and on the fronts and backs of each house are the walls two bricks thick (a mere 8 inches). So tearing down one unit in the middle of the row can be problematic. Houses that get into the worst condition tend to be unoccupied ones that have lost their roof or somehow started allowing large amounts of rain water into the structure. Eventually the water weakens the structure, and the walls and floors collapse. In the Baltimore case, a work crew had previously demolished an unoccupied rowhouse and had come back to shore up walls of the occupied houses on either side of the gap. A backhoe was working in a trench when the wall of one house collapsed across the gap into the wall of the other house, pancaking the top two floors. Six people in one house and the backhoe operator were injured, though none seriously. Despite the problems, old brick rowhouses are not inherently dangerous. Virtually all structural problems can be solved. Even if the masonry wall is so unstable it is moving, it can be repaired and the walls made safe. Anyone with a wall problem should hire a qualified structural engineer to write a specification that will solve the problem. To get a handle on the kinds of things that can go wrong and how to resolve them, we talked to Tim Sibol, an engineer with Skarda & Associates Inc. of Baltimore. Here are some of the common problems he has seen and the solutions: Problem: Bowing front or rear walls. Most rowhouses are built with the joists running parallel to the front and rear walls of the house. The joists are pocketed into the side walls or party walls. So the front and rear walls are connected only to the side walls. According to Sibol, the roof weight is loaded onto the top of the front and rear walls. The roof weight pushing down on these walls can cause them to bow outward. (They can't bow in, because the joists will stop them.) Solution: Bows can be corrected by connecting the front or rear wall back into the joists at each level. Engineers can determine how much force is being applied to the wall and what technique should be used to stop the bowing. Problem: Footings under masonry walls are not reinforced concrete. Sibol has seen masonry walls constructed directly on top of a layer of stone laid in the bottom of a hundred-year-old excavation. Another typical old footing is a stepped-out brick footing at the base of the excavation with the masonry wall laid on the top "step." These footings are fine if they're left untouched. However, if you need to dig below the level of the bottom of the wall, such as to install a furnace, reroute stairs or to increase ceiling height of the basement, you need to do something to stabilize them. Solution: Underpin the walls. You should never dig below the level of the bottom of the wall (even if you are leaving the footing untouched), without consulting an engineer to determine how to underpin with a new concrete footing. Problem: Party walls do not extend all the way to the roof. There are rowhouses in Baltimore where the masonry party walls stop at the second or third floor ceiling; the attics actually are open to one another. Solution: You can provide fire protection at the ceiling on the top floor by adding two layers of one-hour rated, fire-rated drywall or extend a fire-rated wall to the roof. Problem: No support at the bottom of the basement walls. Instead, the floor may be dirt or cracked concrete. If the basement floor is at the same level as the bottom of the wall, there may be nothing to keep the basement wall from pushing in and bowing the wall above. Solution: Consult an engineer about bracing or buttressing the wall. Problem: Third-floor rear walls in old rowhouses often are masonry supported only by an old wood beam at the level below. Over a hundred-year period, water may get in and cause the beam to rot. The weight of all the brick may start to head down toward the basement. Solution: Some people replace these walls with wood-frame walls to save weight. However, you must be careful to make sure that the side masonry walls are still tied in through the wood framing so the house forms a solid structure. *original article written June 29, 1997|By Karol V. Menzie & Randy Johnson*
4/13/2016
Reflective/ Aluminum Roof Coating What is reflective roof coating and what are the benefits? Reflective roof coating is protective coating that can be applied to roofs to keep a home cool without having to use as much air conditioning which can account for one-sixth of our electric bills. In the particularly hot summer months our costs can become astronomical. Reflective roof coating is also called aluminum coating, since the materials used have high albedo, or ability to reflect the sunlight. Reflective roof coatings have other benefits as well: they can increase efficiency in some air conditioning and ventilation units on the roof and because UV radiation expedites roof ageing, they also slow roof decay. These special coatings work by reflecting the sun's light and releasing absorbed heat. Reflective roof coating is most effective for flat roofs because flat roofs usually absorb more energy than slanted roofs. The effectiveness also varies with the thickness and color of the coating, with lighter colors and thicker coatings being significantly more effective. In fact, bright white reflective coatings can have a solar reflectance of 85 percent and cut a roof's cooling load up to 70 percent. 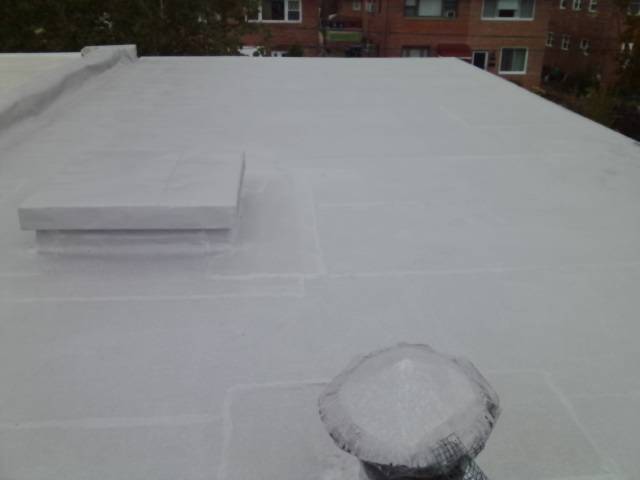 Reflective roof coatings can be made from various materials. Paint-on coatings include acrylic paints, polyurethane, and elastomeric. These types of coatings do not require professional installation. Single-ply reflective sheets made from plastic, PVC, or rubber are effective, as are reflective roof tiles made from concrete, clay, or metal. In terms of total cost (raw price, installation fees, and maintenance fees), white titanium dioxide paint and aluminum sheets are the best choice. However, elastomeric and acrylic coatings reflect a higher fraction of solar energy. Longevity of the material used should also be considered.
No matter which materials are used, most homeowners who employ reflective roof coating experience cooler indoor temperatures and lower cooling costs. For a free estimate and to prepare your roof for the summer months contact Boyd Construction Co Inc today! |
Boyd Construction CoFamily owned and operated in the greater Washington DC area since 1932. Archives
September 2019
|

 RSS Feed