What's New? |
Helpful tips and advice for home maintenance from your roof to your porch.
|
12/17/2016
Repoint brick walls and repair: How to
Step 1: Remove The Old Mortar Repointing is all about out with the old and in with the new—and working in small sections. You don’t want to remove all of the old mortar from a wall at once, because you may weaken its integrity. So, working along the wall in an area about three- to five-feel wide, remove the old mortar from both the horizontal and vertical joints. To ensure you don’t damage the bricks, you can use a cold chisel or handheld grout saw to tap it out. You can also use another hand tool known as a joint raker. If you’re confident in your abilities, you can use a 4-inch angle grinder, but be careful not to cut into the brick. You’ll want to remove the mortar to a depth of about 1/2 inch. Use a whisk broom, wire brush or hose to remove all the dust and wear a respirator to keep debris out of your lungs.
Step 3: Mix The New Mortar If your house is less than 50 years old, you will likely be safe using standard portland cement mortar to refill the spaces between your bricks. If your abode is older than that however, you’ll want to use a different mix, consisting of lime and sand. This is what was originally used in brickwork and it’s best to use the same mix as a replacement. That’s because portland cement mortar is very hard when it dries and can cause older bricks to crack. The lime mix acts almost like disks between vertebrae in the spine: it cushions the brick and moves along with the wall as it flexes. Otherwise, a general rule of thumb is to make a mortar mix from 6 parts fine white sand, 2 parts lime and 1 part white portland cement. 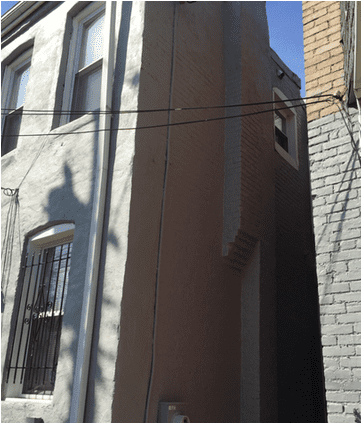 Step 3: Insert The New Mortar
Pick up some mortar on a large trowel and then, using a pointing trowel, work smaller amounts into the horizontal and vertical gaps between the bricks. You might find it easier to fill the vertical joints with a tool known as a margin trowel. Use the flat edge of the trowel to even out your work and scrape off any mortar you get on the face of the bricks. Step 4: Clean Up Wait about an hour until the mortar has hardened a bit, then scrape off any mortar that’s remained on the brick face. You can do this with a sturdy wire brush, but be sure to use a horizontal sweeping motion so as to not pull the new mortar out of the joints. For the next three to four days, give the wall a daily misting to allow the mortar to dry slowly and not crack. Still not quite sure this is something you want or need to do on your own, contact a professional in your area like Boyd Construction Co Inc, servicing the greater Washington DC area for a free consultation. |
Boyd Construction CoFamily owned and operated in the greater Washington DC area since 1932. Archives
September 2019
|
 RSS Feed